Ovirt adalah software virtualisasi yang bersifat free dan opensource, yang dapat digunakan dalam linux seperdi fedora, centos dan RHEL dengan kata lain kita dapat mengunakan oVirt sebagai alternatif dari VMware vshpere di linux. Komunitas oVirt didirikan dan didukung oleh Red Hat dan dianggap sebagai proyek hulu untuk Red Hat Enterprise Virtualization (RHEV) => (linuxtechi)
Ovirt Terdiri dari dua komponen utama yaitu :
- oVirt Engine
sebagai portal administrator web dari situ kita dapat megolah virtual machine, komputasi, storage , network dan storage.
- oVirt Node
oVirt Node bertindak sebagai Hypervisor (KVM) di mana semua mesin virtual akan dibuat.
karena oVirt ini berdiri diatas KVM maka kita harus mengecek apakah server yang kita install mendukung hardware acceleration untuk virtual machines, dengan cara seperti ini dan nilainya harus diatas 0 (nol)
|
1 2 |
[root@controller ~]# egrep -c '(vmx|svm)' /proc/cpuinfo 4 |
Artikel ini kita akan menginstal versi terbaru oVirt 4.0.5 pada CentOS 7 / RHEL 7. Saya akan menggunakan dua server yang akan bertindak sebagai oVirt Engine dan lainnya akan bertindak sebagai oVirt Node. Berikut adalah rincian:
- oVirt Engine: controller (10.0.0.10)
- oVirt Node: compute (10.0.0.20)
edit pada /etc/hosts
|
1 2 |
10.0.0.10 controller 10.0.0.20 compute |
Langkah instalasi oVirt Engine di CentOS 7 / RHEL 7
Berikut ini adalah persyaratan minimal untuk oVirt-Engine:
- Minimal OS (CentOS 7.x / RHEL 7.x)
- Server dual core
- 4 GB RAM
- 25 GB Disk Space
- 1-Gbps Lan Card
Langkah: 1 Update server menggunakan perintah yum
|
1 |
[root@controller ~]# yum update -y |
Langkah: 2 Aktifkan Repository oVirt 4.0.5
|
1 |
yum install http://resources.ovirt.org/pub/yum-repo/ovirt-release40.rpm |
Langkah: 3 Install Package oVirt Engine menggunakan perintah yum
|
1 |
[root@controller ~]# yum install ovirt-engine -y |
tunggu sampe proses installasi selesai….
Langkah: 4 jalankan installer oVirt Engine
|
1 |
[root@controller ~]# engine-setup |
nanti akan muncul serangkaian peratanyaan secara interaktif , ikuti seperti dibawah ini
|
1 2 3 4 5 6 7 8 9 10 11 12 13 14 15 16 17 18 19 20 21 22 23 24 25 26 27 28 29 30 31 32 33 34 35 36 37 38 39 40 41 42 43 44 45 46 47 48 49 50 51 52 53 54 55 56 57 58 59 60 61 62 63 64 65 66 67 68 69 70 71 72 73 74 75 76 77 78 79 80 81 82 83 84 85 86 87 88 89 90 91 92 93 94 95 96 97 98 99 100 101 102 103 104 105 106 107 108 109 110 111 112 113 114 115 116 117 118 119 120 121 122 123 124 125 126 127 128 129 130 131 132 133 134 135 136 137 138 139 140 141 142 143 144 145 146 147 148 149 150 151 152 153 154 155 156 157 158 159 160 161 162 163 164 165 166 167 168 169 170 171 172 173 174 175 176 177 178 179 180 181 182 183 |
[ INFO ] Stage: Initializing [ INFO ] Stage: Environment setup Configuration files: ['/etc/ovirt-engine-setup.conf.d/10-packaging-jboss.conf', '/etc/ovirt-engine-setup.conf.d/10-packaging.conf'] Log file: /var/log/ovirt-engine/setup/ovirt-engine-setup-20161220034331-bsvnb0.log Version: otopi-1.5.2 (otopi-1.5.2-1.el7.centos) [ INFO ] Stage: Environment packages setup [ INFO ] Stage: Programs detection [ INFO ] Stage: Environment setup [ INFO ] Stage: Environment customization --== PRODUCT OPTIONS ==-- Configure Engine on this host (Yes, No) [Yes]: Yes Configure Image I/O Proxy on this host? (Yes, No) [Yes]: Yes Configure WebSocket Proxy on this host (Yes, No) [Yes]: Yes Please note: Data Warehouse is required for the engine. If you choose to not configure it on this host, you have to configure it on a remote host, and then configure the engine on this host so that it can access the database of the remote Data Warehouse host. Configure Data Warehouse on this host (Yes, No) [Yes]: Yes Configure VM Console Proxy on this host (Yes, No) [Yes]: Yes --== PACKAGES ==-- [ INFO ] Checking for product updates... [ INFO ] No product updates found --== NETWORK CONFIGURATION ==-- Host fully qualified DNS name of this server [controller]: [WARNING] Host name controller has no domain suffix [WARNING] Failed to resolve controller using DNS, it can be resolved only locally Setup can automatically configure the firewall on this system. Note: automatic configuration of the firewall may overwrite current settings. Do you want Setup to configure the firewall? (Yes, No) [Yes]: No [WARNING] Host name controller has no domain suffix [WARNING] Host name controller has no domain suffix [WARNING] Host name controller has no domain suffix --== DATABASE CONFIGURATION ==-- Where is the DWH database located? (Local, Remote) [Local]: Local Setup can configure the local postgresql server automatically for the DWH to run. This may conflict with existing applications. Would you like Setup to automatically configure postgresql and create DWH database, or prefer to perform that manually? (Automatic, Manual) [Automatic]: Automatic Where is the Engine database located? (Local, Remote) [Local]: Local Setup can configure the local postgresql server automatically for the engine to run. This may conflict with existing applications. Would you like Setup to automatically configure postgresql and create Engine database, or prefer to perform that manually? (Automatic, Manual) [Automatic]: Automatic --== OVIRT ENGINE CONFIGURATION ==-- Engine admin password: <password_anda> Confirm engine admin password: <password_anda> Application mode (Virt, Gluster, Both) [Both]: Both --== STORAGE CONFIGURATION ==-- Default SAN wipe after delete (Yes, No) [No]: No --== PKI CONFIGURATION ==-- Organization name for certificate [Test]: controller --== APACHE CONFIGURATION ==-- Setup can configure the default page of the web server to present the application home page. This may conflict with existing applications. Do you wish to set the application as the default page of the web server? (Yes, No) [Yes]: Yes Setup can configure apache to use SSL using a certificate issued from the internal CA. Do you wish Setup to configure that, or prefer to perform that manually? (Automatic, Manual) [Automatic]: Automatic --== SYSTEM CONFIGURATION ==-- Configure an NFS share on this server to be used as an ISO Domain? (Yes, No) [No]: No --== MISC CONFIGURATION ==-- Please choose Data Warehouse sampling scale: (1) Basic (2) Full (1, 2)[1]: 1 --== END OF CONFIGURATION ==-- [ INFO ] Stage: Setup validation [WARNING] Less than 16384MB of memory is available --== CONFIGURATION PREVIEW ==-- Application mode : both Default SAN wipe after delete : False Update Firewall : False Host FQDN : controller Engine database secured connection : False Engine database host : localhost Engine database user name : engine Engine database name : engine Engine database port : 5432 Engine database host name validation : False DWH database secured connection : False DWH database host : localhost DWH database user name : ovirt_engine_history DWH database name : ovirt_engine_history DWH database port : 5432 DWH database host name validation : False Engine installation : True PKI organization : controller Configure local Engine database : True Set application as default page : True Configure Apache SSL : True DWH installation : True Configure local DWH database : True Engine Host FQDN : controller Configure Image I/O Proxy : True Configure VMConsole Proxy : True Configure WebSocket Proxy : True Please confirm installation settings (OK, Cancel) [OK]: OK [ INFO ] Stage: Transaction setup [ INFO ] Stopping engine service [ INFO ] Stopping ovirt-fence-kdump-listener service [ INFO ] Stopping dwh service [ INFO ] Stopping Image I/O Proxy service [ INFO ] Stopping websocket-proxy service [ INFO ] Stage: Misc configuration [ INFO ] Stage: Package installation [ INFO ] Stage: Misc configuration [ INFO ] Upgrading CA [ INFO ] Initializing PostgreSQL [ INFO ] Creating PostgreSQL 'engine' database [ INFO ] Configuring PostgreSQL [ INFO ] Creating PostgreSQL 'ovirt_engine_history' database [ INFO ] Configuring PostgreSQL [ INFO ] Creating CA [ INFO ] Creating/refreshing Engine database schema [ INFO ] Creating/refreshing DWH database schema [ INFO ] Configuring Image I/O Proxy [ INFO ] Setting up ovirt-vmconsole proxy helper PKI artifacts [ INFO ] Setting up ovirt-vmconsole SSH PKI artifacts [ INFO ] Configuring WebSocket Proxy [ INFO ] Creating/refreshing Engine 'internal' domain database schema [ INFO ] Generating post install configuration file '/etc/ovirt-engine-setup.conf.d/20-setup-ovirt-post.conf' [ INFO ] Stage: Transaction commit [ INFO ] Stage: Closing up [ INFO ] Starting engine service [ INFO ] Starting dwh service [ INFO ] Restarting ovirt-vmconsole proxy service --== SUMMARY ==-- [ INFO ] Restarting httpd In order to configure firewalld, copy the files from /etc/ovirt-engine/firewalld to /etc/firewalld/services and execute the following commands: firewall-cmd --permanent --add-service ovirt-postgres firewall-cmd --permanent --add-service ovirt-https firewall-cmd --permanent --add-service ovirt-fence-kdump-listener firewall-cmd --permanent --add-service ovirt-imageio-proxy firewall-cmd --permanent --add-service ovirt-websocket-proxy firewall-cmd --permanent --add-service ovirt-http firewall-cmd --permanent --add-service ovirt-vmconsole-proxy firewall-cmd --reload The following network ports should be opened: tcp:2222 tcp:443 tcp:5432 tcp:54323 tcp:6100 tcp:80 udp:7410 An example of the required configuration for iptables can be found at: /etc/ovirt-engine/iptables.example Please use the user 'admin@internal' and password specified in order to login Web access is enabled at: http://controller:80/ovirt-engine https://controller:443/ovirt-engine Internal CA 57:ED:D9:F4:2A:C0:FD:59:6E:6E:9A:69:D6:D3:2D:96:98:CF:66:C1 SSH fingerprint: 0e:ab:b3:96:4f:42:68:98:71:f8:c3:51:ba:49:08:77 [WARNING] Less than 16384MB of memory is available --== END OF SUMMARY ==-- [ INFO ] Stage: Clean up Log file is located at /var/log/ovirt-engine/setup/ovirt-engine-setup-20161220034331-bsvnb0.log [ INFO ] Generating answer file '/var/lib/ovirt-engine/setup/answers/20161220035518-setup.conf' [ INFO ] Stage: Pre-termination [ INFO ] Stage: Termination [ INFO ] Execution of setup completed successfully |
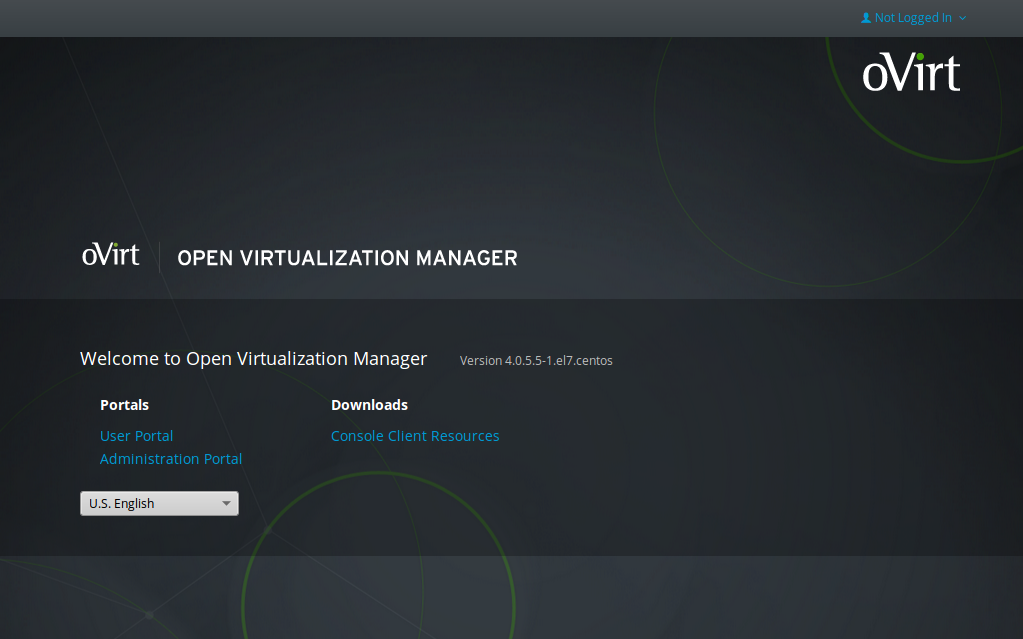
Langkah: 5 Akses oVirt Engine Web Administrator Portal.
|
1 |
https://10.0.0.10 |
sesuaikan dengan ip yang anda gunakan
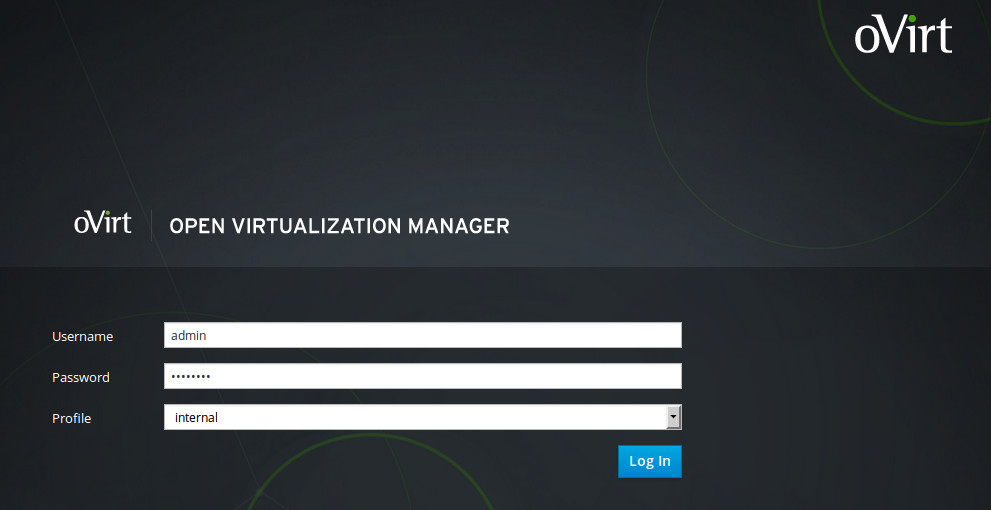
kemudian akses administator portal untuk login sebagai admin
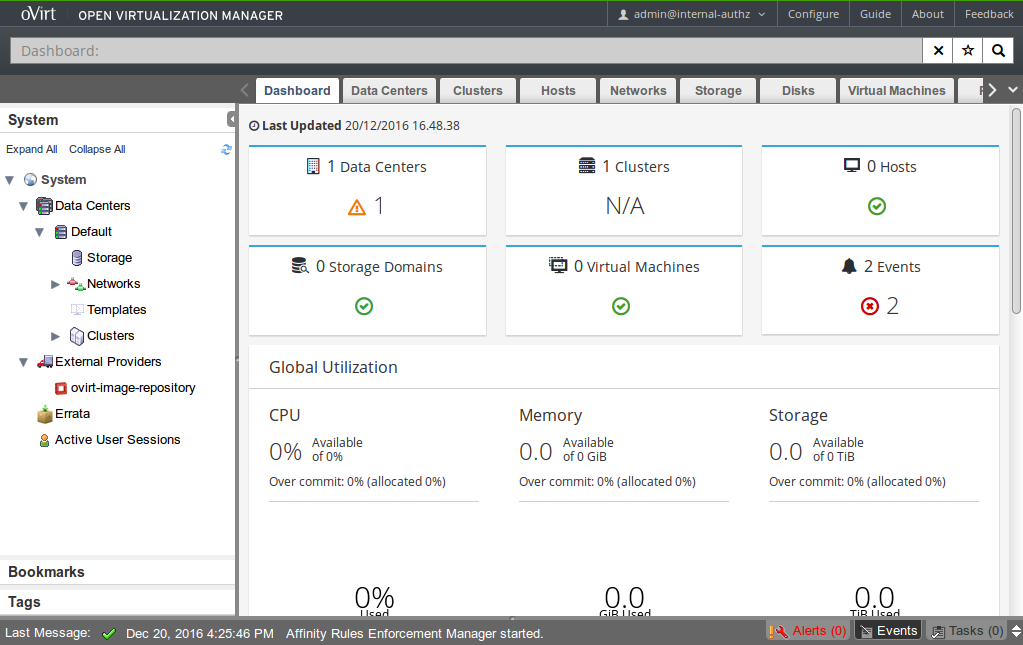
ini tampilan dashboardnya (Keren kalo menurut saya)
okee cukup sekian dulu untuk tutorial installasi oVirt 4.0.5 ini, nanti akan saya lanjutkan Installasi Ovirt Node (Hypervisor)
semoga bermanfaat……
Keep learning & Istiqomah 🙂
wassalamualaikum……
refrensi = http://www.linuxtechi.com/install-configure-ovirt-4-0-on-centos7-rhel7/


Komentar